“Overlooking the Obvious”

DIY Inspection Can Be Performed by Anyone to Identify Issues with Homes That Are Deal Breakers

Families will breathe up to 90% of their air in your home. For most people, it is also their most significant investment, It is worth learning and having a few useful tools. You can buy all of these for $100.

Inspection Tools

For Safety

  • N95

  • Latex Gloves

  • Eye Protection

  • Tyvek Suit

Helpful Tools

  • Flashlight

  • Hygrometer

  • Moisture Meter

  • Camera & Infrared

  • Mold Test Swabs

DescriptionActivities
Step 1
Ask questions about the home and occupants. Start with real estate agent and ask them to ask the seller.
  • Has the home had any significant flooding due to rain or storms.
  • Has the home been remediated for mold
  • Do the current owners suffer from any chronic illness, allergies, sleep disturbance, headaches, respiratory & cardiac disease. Note: you may not get an answer due to privacy.
  • Have there been any minor flooding issues. Leaky pipes, toilet overflows, refrigerator leaking, washing machine drainage, dishwasher, etc
  • has there been any remodeling.
Step 2Visual Inspection of Outside. Determine whether water flows into the home or away from it.

(Note: You can take Mold swabs to take test samples that can be sent to a lab. More on testing below.

  • Top of a hill is preferable to bottom
  • Check to see if there is flooding or water against the foundation, crawlspace, or basement.
  • Inspect gutters to see of they are properly diverting roof water away from the house.
  • Inspect any gutter drainage or French drains to pull water away from the home.
  • Take pictures of any potential problem area you find and document it so you can share with inspectors or building science professionals
  • If you can, visit the house when it is raining. That will tell you exactly where water is flowing.
Step 3Inspect the inside ceilings and walls.
  • Make sure you are trying to smell any musty or moldy odors.
  • Use a flashlight, inspect the ceilings or walls for discoloration due to water. Drywall absorbs water and will be visible.
  • If there is no discoloration due to fresh pain, use the moisture meter.
  • Use a moisture meter to determine the moisture in the drywall or other surface. Take pictures and document.
  • Pay special attention to areas of the home that are adjacent or below appliances that can cause flooding.
  • Use the hygrometer to document humidity throughout the house.
  • Take pictures with infrared camera of area location where there is pipes, potential to water to penetrate the home. This will tell you if there is water behind the walls or below the floor.
Step 4Inspect the floors and carpet.
  • Feel free to remove a register and look into the ductwork for dust, mold, etc.
Step 5Inspect the air registers for dust, mold, and rust. Use a swab to gather a sample.
  • Feel free to remove a register and look into the ductwork for dust, mold, etc.
Step 6Inspect the washing machine.
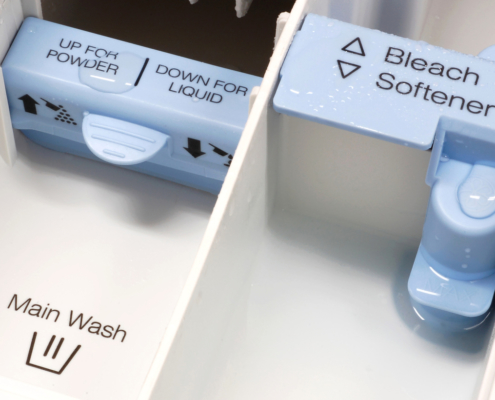
  • Remove the detergent, fabric softener tray to determine if there is visible mold.
  • Open the door and look behind the seal fordark mold accumulation.
Step 7Inspect the HVAC.
  • Ideally, the HVAC is relatively new and tightly sealed. With little dust or mold around the pan.
  • If the HVAC is older, it is best to have an HVAC professional open the HVAC to check for mold.
Step 8Mold Testing

Stay up to date

DIY Articles to Help you Learn More About Sick Homes

Mold In Carpet Will Impact Your Health

/
You Carpet is a Homes Largest Air Filter That Does Not Get…

The Laundry Room and Clothing Can Make You Sick

/
The Science of Washing Machines, Detergents and Removing Mold…

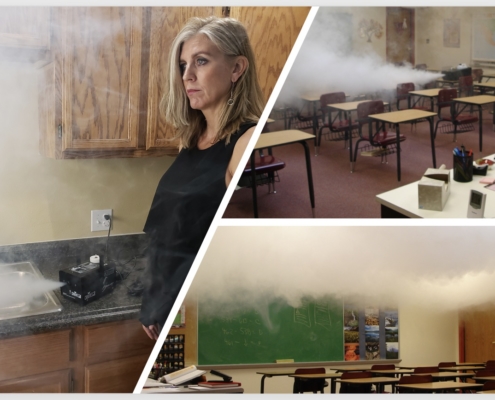
Why You Should Consider Mold Fogging?

/
A Very Effective DIY Tool to Address Systemic Mold in a Home By…